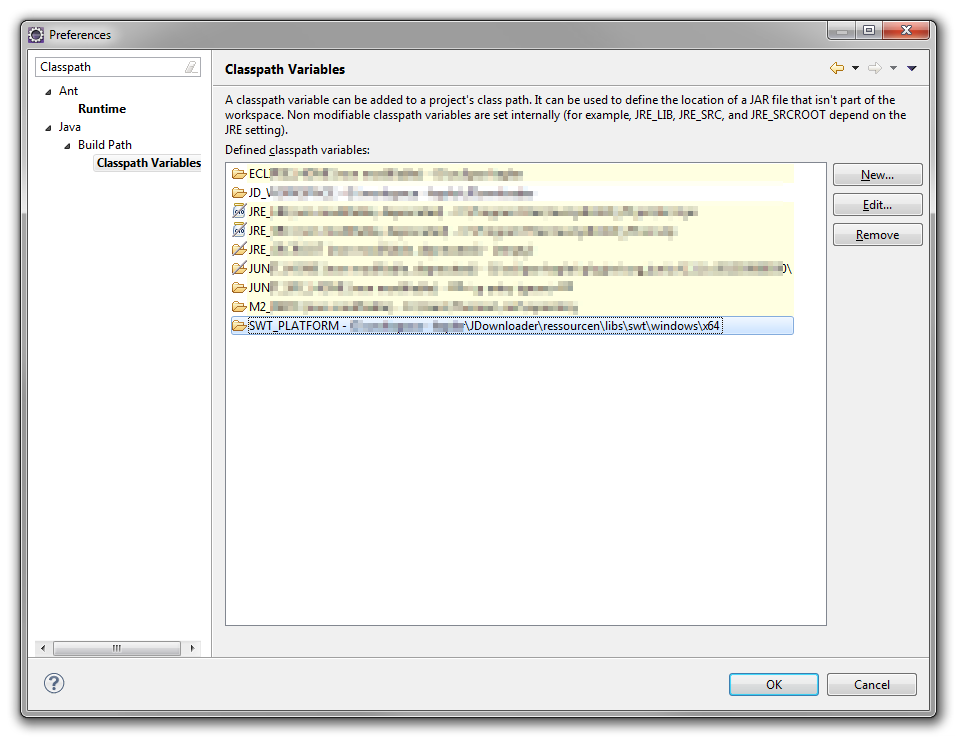
Build Problems - SWT_PLATFORM
To fix your classpath, you have to set up the SWT_PLATFORM Classpath Variable in Eclipse Preferences. Check <Workspace>\JDownloader\ressourcen\libs\swt\… to find your correct path.

Please be aware that this documentation is heavily outdated and only kept for historical purposes.
You can find the updated documentation here!
Please be aware that this documentation is heavily outdated and only kept for historical purposes.
You can find the updated documentation here!
Please be aware that this documentation is heavily outdated and only kept for historical purposes.
You can find the updated documentation here!
Please be aware that this documentation is heavily outdated and only kept for historical purposes.
You can find the updated documentation here!
Please be aware that this documentation is heavily outdated and only kept for historical purposes.
You can find the updated documentation here!
Please be aware that this documentation is heavily outdated and only kept for historical purposes.
You can find the updated documentation here!
Please be aware that this documentation is heavily outdated and only kept for historical purposes.
You can find the updated documentation here!
Most of the team uses the free Java IDE Eclipse to work on JDownloader. JDownloader's Sourcecode is stored on a code “Subversion” server. To “Check out” the latest code, and to commit changes, you need a Subversion Client. We prefer an integrated solution, and thus use the Eclipse addon “Subclipse” as Subversion Client. Moreover, we recommend to install Oracle Java JDK 1.7.0_2
Download an install these Tools in the given order,
Start Eclipse. Eclipse will ask you to choose your workspace. This is the folder where Eclipse will save all your code and project settings.

Add the installed Java JDK. Click Menu [Window]→[Preferences]

Navigate to [Java]→[Installed JRE]
If JDK is not listed, click [Add], continue with Standard VM [Next] and select [Directory] to choose your JDK install directory. Usually this is something like C:\Program Files\Java\jdk1.6.0_22 (for windows)

Click [Finish], and make sure to choose the JDK as default:

Close the dialog with [OK]
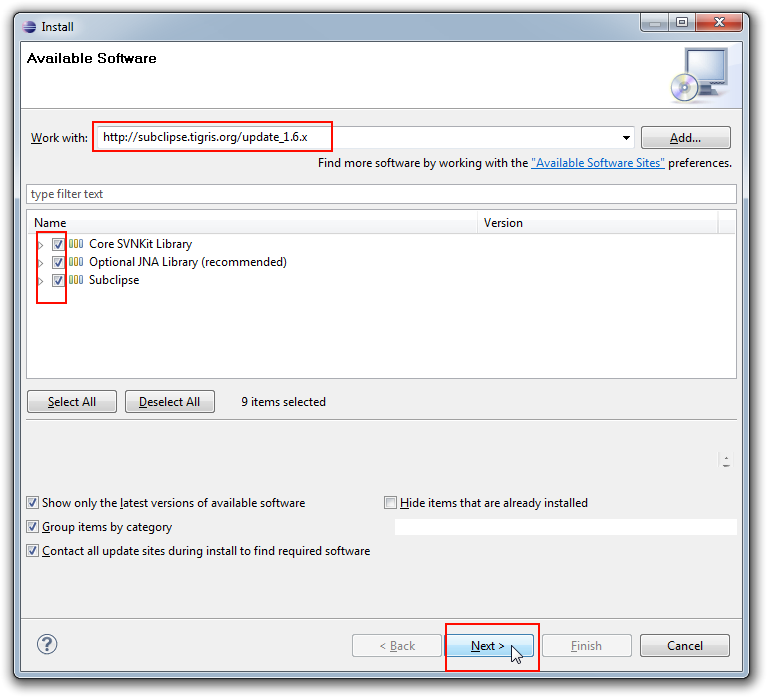
http://subclipse.tigris.org/update_1.10.x
Click Menu→[Help]→[Install New Software]

Enter in the “Work with” field and press ENTER. After a short time, Eclipse will have loaded the contents. Select all of them and click [Next]
The install guide will help you to finish installation. Eclipse will probably ask you to restart Eclipse. Do this to finish installation.
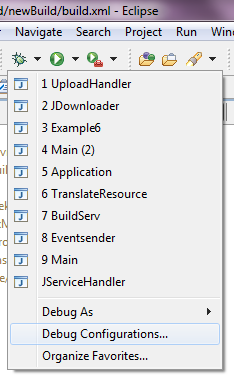
Choose Menu →[File]→[New]→[Project] (NOT Java-Project)

Choose [Checkout Project from SVN] and click [Next]. Choose “Create new respository location” in the next screen.

Enter the first project svn url: svn://svn.appwork.org/utils

Select the root and click [next]

Now check out the project as new project in the workspace:

Click [Finish] and Approve all question dialogs with [Yes] or [OK]. Eclipse will download and set up the project now. Close the Welcome Screen to see the first project.
Note:
When adding the SVN repository, you should see a progress indicator in the bottom right corner of Eclipse. If you get an error at this point, do not see a directory structure under the SVN container, or if you are stuck at 0% this is most likely due to not having proper permissions on your firewall. Add all outgoing ports (0:65535) on your firewall to IP address 176.9.43.113 (or dns: svn.jdownloader.org and svn.appwork.org) and try this step again.

Repeat these steps with

In order to keep code layouts the same between the different contributors IDE setups, we prefer all commits be made using our code formatter.


To upload to your code server, you need write access. Basically, everybody can get write access.
To get write access, please write an EMail with the following content to support@jdownloader.org
Herby I allow AppWork GmbH, Schwabacher Straße 117, 90763 Fürth, to re-license my (as user '<YOUR USERNAME>') commits to the JDownloader Code Server (svn.jdownloader.org). Re-licensing, in this case, means modifying and distributing my changes under a new license.
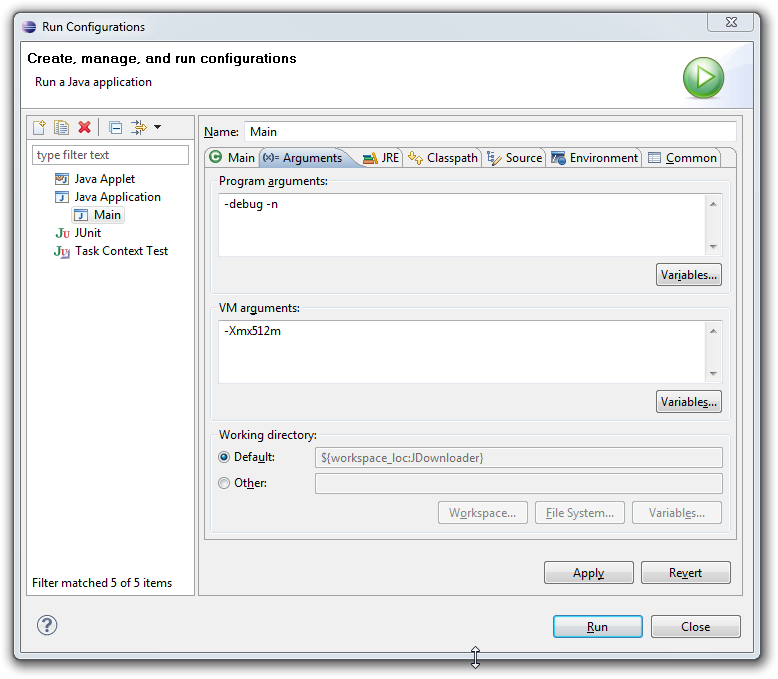
This is an Eclipse Bug. JDownloader starts but the LinkCrawler is empty. Java 1.7 and Java 1.8

Add this Parameter as a VM Parameter in Eclipse.
-XX:-UseSplitVerifier
Like the 1.7 Solution, but instead of ”-XX:-UseSplitVerifier”, we use the ”-noverify” JVM Parameter -noverify
To fix your classpath, you have to set up the SWT_PLATFORM Classpath Variable in Eclipse Preferences. Check <Workspace>\JDownloader\ressourcen\libs\swt\… to find your correct path.